How to make a pull tie
- May 5
- 3 min read
Updated: May 8
Hello!
This is a call for the crafty among us!
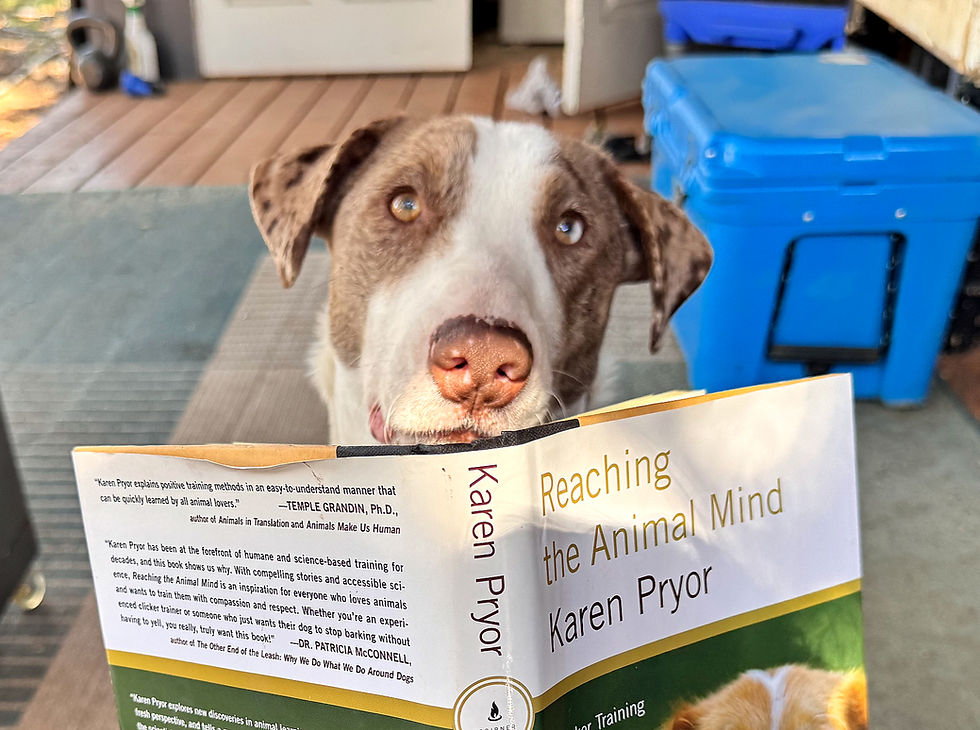
One task that Service Dogs Inc teaches our dogs is “Pull”.
This can be used to open doors, drawers, cabinets, bring laundry baskets, pull phones out of pockets- YOU NAME IT.
One thing that makes it so much easier for the dogs- is if they see the tug that they have been taught to pull from the beginning- they can totally understand that their job is to pull on that tug no matter what it is attached to!
SO- to make life easier for our dogs and our clients- I want to be able to give our clients a bunch of ties to affix around the house, or take out in public to help their dogs help them in their day to day lives.
And you can help me!!
To get to this point I tried several different braid types and materials to get to where I am now. I looked at other schools and I scoured Etsy and I tried different things with client dogs and my demo dog.
This is what I have landed on! I like that these tugs are easy and cheap to make, they can pull high and tight on objects, they don’t have a lot of springiness or give to them and the dogs seem to enjoy putting their teeth on the felt!
SO! Here is my design!

It’s simple! A simple tight braid with a loop at the end where the loose end can be wrapped around and pulled tight around anything that needs to be “pulled” or retrieved!
Step 1: Thrift Store visits! Look, I love a thrift store treasure hunt. So I have found several blankets between $4-6 a piece! I’ve found that even a small throw type can make about 12 pull ties.
Through my trial and error I have found that I like to grab the CHEAP type of felt. It’s actually better if it doesn’t have much give to the fabric. Because then the braid is tighter- and the dog doesn’t have to work as hard to pull it!
So I go through thrift stores and pull the fabric apart and find the ones with the least “give” to bring home.
Step 2: Cut strips of roughly 1.5 inch width. It absolutely does not have to be perfect!
I don’t have a great sewing and crafting set up- so I try my best to hide my good fabric scissors from my husband and cut as straight as possible!
Lucky for me- the dogs don’t care about perfection

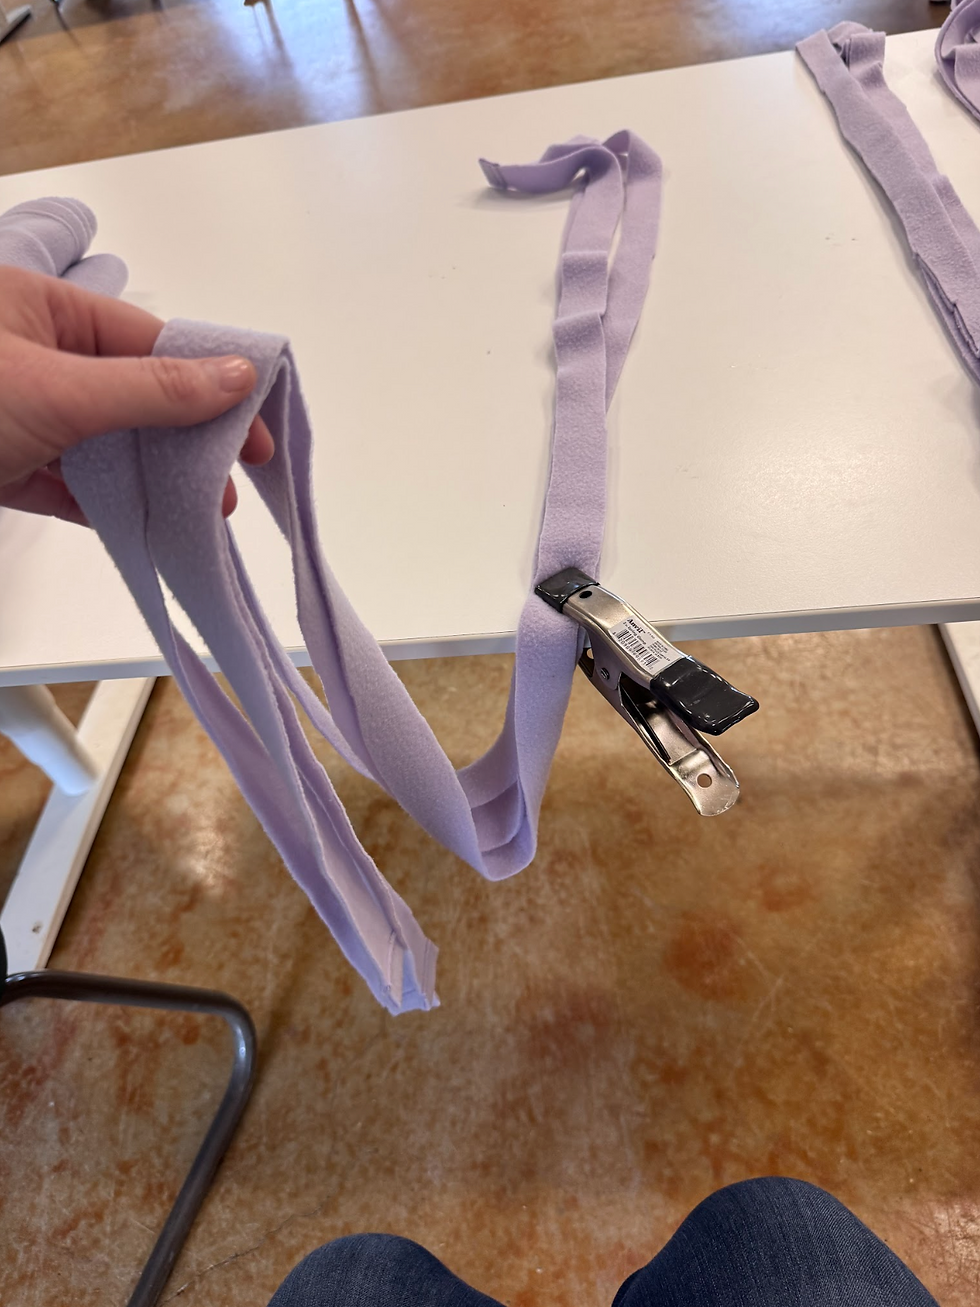
Step 3: Cut three strips and gather. I typically fix the bunch with a clamp with a bit over half the fabric dangling. That will allow me to pull the middle braid tight. If you don’t have a camp, you can wrap around a table or chair leg to pull tight!
Step 4: Braid the middle loop section tight!

Step 5: Braid enough to be able to fold over in half into a loop.

Step 6: Clamp the loop down and gather the ends to braid into a simple braid

Step 7: Braid into roughly 1.5 feet. But smaller and larger variations are useful as well! Some dogs are short and need a longer pull tab. Or some objects can be pulled by a shorter tab length!

Step 8: Tie off ends on both sides to help the braid stay tight
Final Product!